In the age of camera phones, it doesn't take thousands of dollars worth of equipment or a ton of technical know-how to take great pictures. As long as you can point and tap your smartphone screen, you're experienced enough to document the world around you.
However, issues can pop up later in the editing stage. You may have the perfect photo to print and frame, only to notice that something's a little off - it could be a technical issue like the color contrast or brightness, or an inopportune photobomb you'd rather crop out.
Whatever the case, we're here to help with five tips and tricks to get your photos looking their absolute best.
Tools for Photo Editing
If you're on your smartphone, Snapseed is a free app for iOS or Android with all kinds of tools you'll need to edit your photos in no time.
For desktop computer, we recommend the Photos app (Apple) or Fotor, a super simple website that makes tweaking images a total breeze.
1. Remove Red Eye
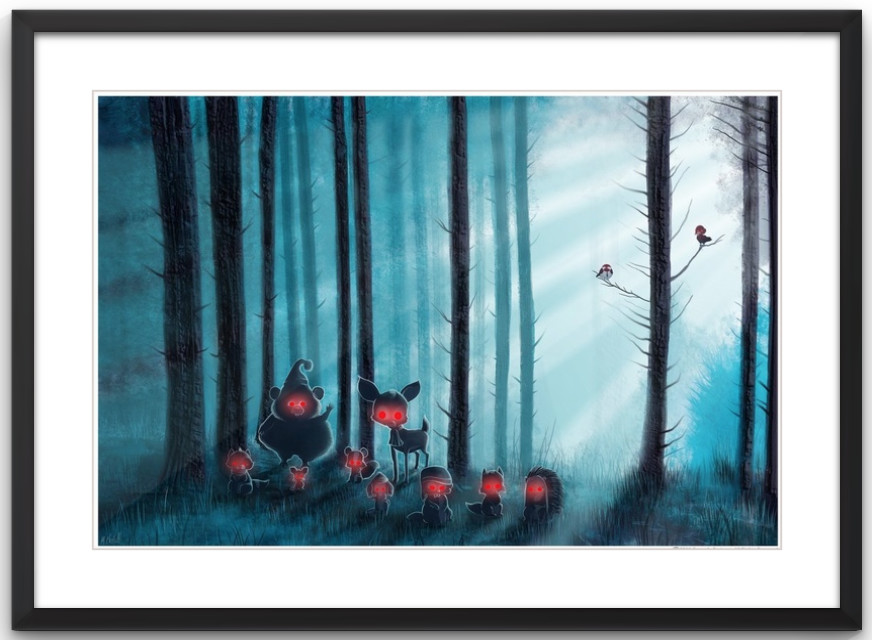
Image source: Bottleneck Gallery (Artist: Mark Chilcott)
There's nothing worse than looking through photos of your friends and family and seeing a bunch of red eyes looking back at you. Red-eye can turn a great photo into a top candidate for the virtual trash.
Fortunately, there's hope in the form of an app that makes it easy to fix this common flaw.

2. Crop/Rotate

Image source: Unsplash (Artist: Javier Allegue Barros)
Maybe a tourist popped his head last-minute into one of your favorite engagement shots, or there's just too much dead space in a treasured vacation photo. Either way, the crop function is here for you.
As one of the most frequently used photo editing tools, cropping allows you to reconfigure and recompose an image to look exactly how you want it before framing it. When deciding on what to crop and what to keep, decide where the focal point of your framed photo should be. If there's unimportant scenery or anything that distracts from what you were trying to capture, crop it out.
This also helps if you want your photo to be a specific size to fit inside a gallery wall or just a particular space in your home.
Composition-wise, it's often okay to have the most important elements in your photo spread out a bit across the image. I.e., the subject does not have to be dead-center. Go with your instincts and do what you think works best for your photo.

3. Make Your Photo B&W or Adjust the Brightness
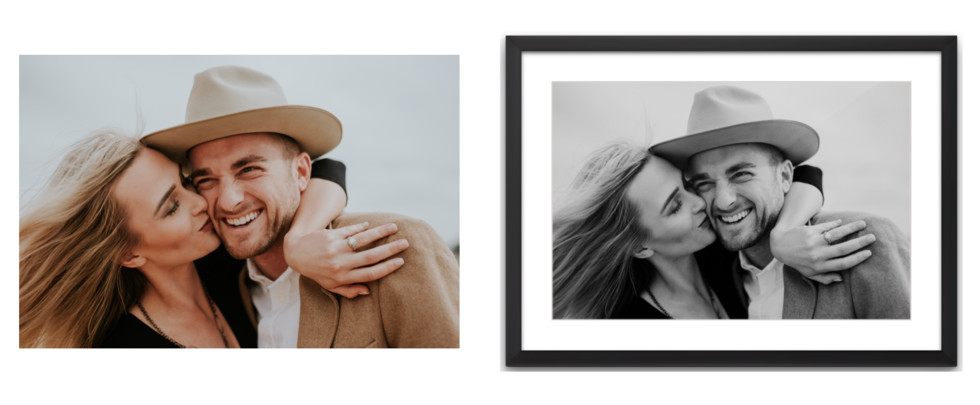
Image source: Unsplash (Artist: Brooke Cagle)
Sometimes, the moment just calls for a good old fashioned black and white photo. It's romantic in a days-gone-by sort of way and can add the perfect classic touch to a room.
On the other hand, if you are a a full-color-photo kind of person, and the ones in your photo look muted or too bright, there's a fix for that, too.
First, a quick terminology rundown: If your photo looks overly bright and washed out, this is due to over-exposure. Most photo editing programs allow you to adjust the exposure levels, so you can tone down what tends to look like an overzealous use of the camera's flash.

Image source: Unsplash (Artist: Brooke Cagle)

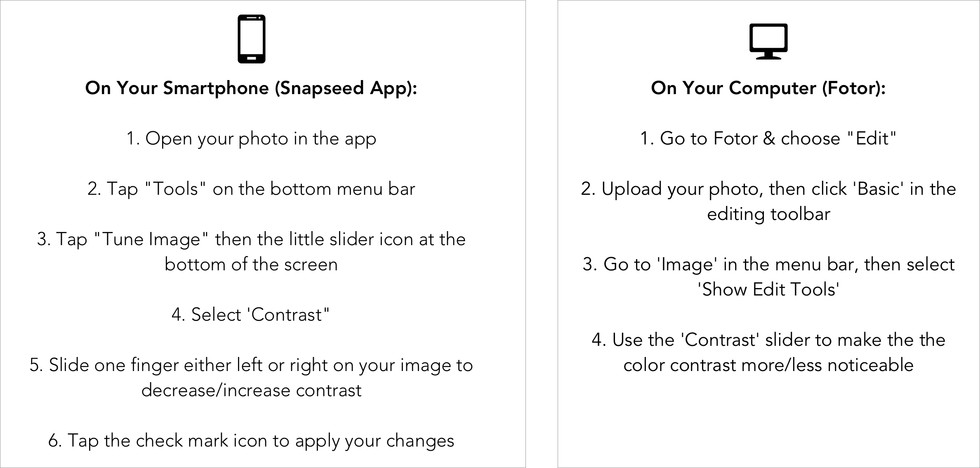
4. Fix Your Color Contrast

Image source: Unsplash (Artist: Joseph Gonzalez)
If your photograph seems to be lacking vibrancy, you may want to play around with the contrast before customizing the frame.
Contrast in an image refers to the way the different colors appear in relation to one another. If your image has colors that are muddy, individual elements won't be as easily distinguishable and you won't get the crisp brightness you want in a quality photograph--even if it's just a picture of what you ordered at brunch.
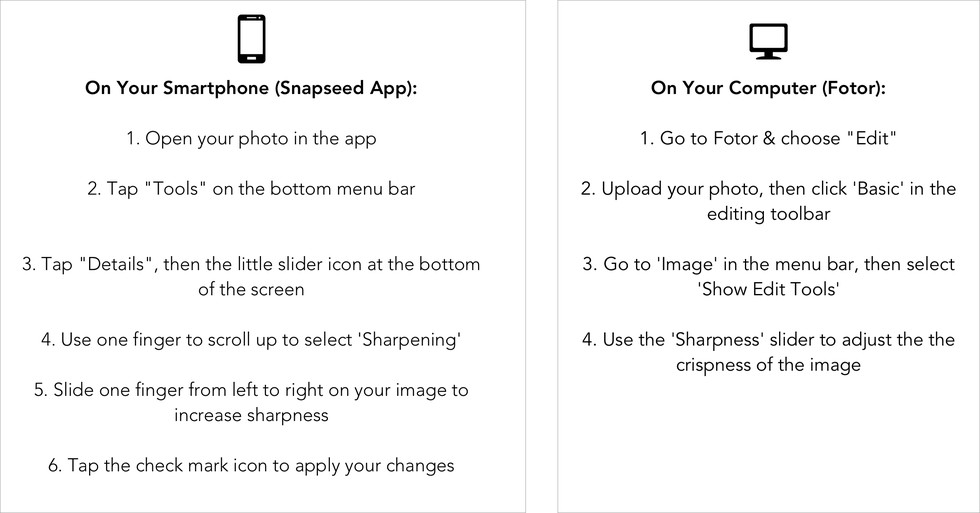
5. Make Sure Your Photo is Sharp & Focused

Image source: Unsplash (Artist: Delaney Dawson)
Nobody likes a blurry photo. If the image is unfocused, or the focus is just too soft, everything will look vaguely blurred or grainy, like you're viewing it through a dirty lens or static on a TV screen.
Needless to say, this is generally not the look you want in a framed photo. When adjusting the sharpness, be sure not to go too far, or whatever is in your picture will end up looking like it was drawn in with an overly heavy hand.
Hopefully these tips will help you go forth confidently into your next photo editing experience, and ensure that the pictures you're framing look exactly how you hoped they would.
If you're ever stuck, or need some recommendations on how to perfect an image before you frame it, don't hesitate to reach out to us via email or chat.


